Sunday 29 August 2010

Worktop WIP - just a quicky lol

Well I thought I could show what I've been up to this evening. Photos are a lil rough and ready as taken on my desk, as I couldn't be arsed popping up the light tent.  Bit of luck i'll get the 'Jack primed in the morning (weather depending) and my two scouts finished with some proper photos taken of them.


Hopefully i'll manage to get the scout squad finished before I go on holiday but time is running low.  TTFN!

Khador Plastic Warjack

So I got myself another distraction from the lovely people of wargamesworkshop this time, ordered at midnight on tuesday here on thursday morning, can't ask for better.  This time it's something different again a nice chunky jack to mess around with and dirty up a bit lol

What appeared in my mail


inside you get the cards for all four jacks you can make and all the parts sealed in a funny lil baggy chain.


Got all the bits out that I needed leaving loads to spare.


It has to be said whilst the detail is generally crisp and they haven roughly taken of most of the injection lugs, where they have used multiple piece moulds the mould lines tend to converge around detail making them awkward to remove.


It should be noted these are like the resin from the basing kits than actual plastic so super glue is need.  This is how far i've gotten some cleaning up still needed.


I particularly like the little lugs on the legs as they go together even without glue so should be nice and strong.


Overrall a nicely detailed kit with only a few minor issues looking forwarding to getting on with this.

Friday 27 August 2010

Scythes of the Emperor - Scout Squad No. 2 - Part 2

Only a little update but getting to the point were they just need metallics, hair and adam ant style eye make up before I start on their shotguns and bases.


Also got a little package from wargamesworkshop to be unpacked and started on over the weekend with photos to come.

Thursday 26 August 2010

Scythes of the Emperor - Army List

Just so people actually know what I'm working towards here is the list that I am currently building to.

Not Pedro Kantor 175 (lives with 5 man sternguard)

Librarian - Null Zone, Gate of Infinity, Plasma Pistol 115

10 x Tactical Marines - Powerfist, Melta gun, Multi-melta, Combi-flamer, Rhino. 245

6 x Scouts - Not Telion, missile launcher, camo-cloaks, 4 x sniper rifles 166

5 x scouts - powerfist, combi-flamer, 4 x shotguns 110 (go in the storm)

Landspeeder Storm - Assault Cannon 85

4 x Scout Bikers - Powerfist, 3 x Grenade Launchers, Locator Beacon 170

6 x Sternguard - Powerfist, 2 x Melta, 2 x Combi-flamers, Drop Pod 230

5 x sternguard - powerfist, melta gun, razorback twin lascannon or Assault cannon 230

Predator - Lascannon Sponsons 120

Thundefire Cannon 100

Total 1746

Scythes of the Emperor - Scout Squad No. 2

Now for some very WIP scouts to prove I haven't forgotten about these guys.  They will eventually be armed with shotguns.


Hopefully get some more done this afternoon.

Monday 23 August 2010

A Distraction is Born - JMD Ghoul Bust Part 2

Only a quick update to show a bit of shading i've started, working purple into the basecoat to warm things up a bit.


Hopefully more to come soon.

Sunday 22 August 2010

A Distraction is Born - JMD Ghoul Bust Part 1

Well i've had this pretty lil fellow for a while and have decided to make a start as a break from painting marines.  Not a lot to show yet just primed black, then basecoated khemri brown.


more to follow soon.

Saturday 21 August 2010

Scythes of the Emperor - Making Combi-Flamers

Having been asked by various folks how I made my combi-flamers I have put together a very simple tutorial.  It's not great but gets the general idea across.  First things first, remember pointy things can cause serious pain, do not attempt if very small or incompetent.


Ok here goes, first of all you will need tools

1)Clippers
2)Knife
3)Superglue
4)Pinvice
5)1mm drill bits


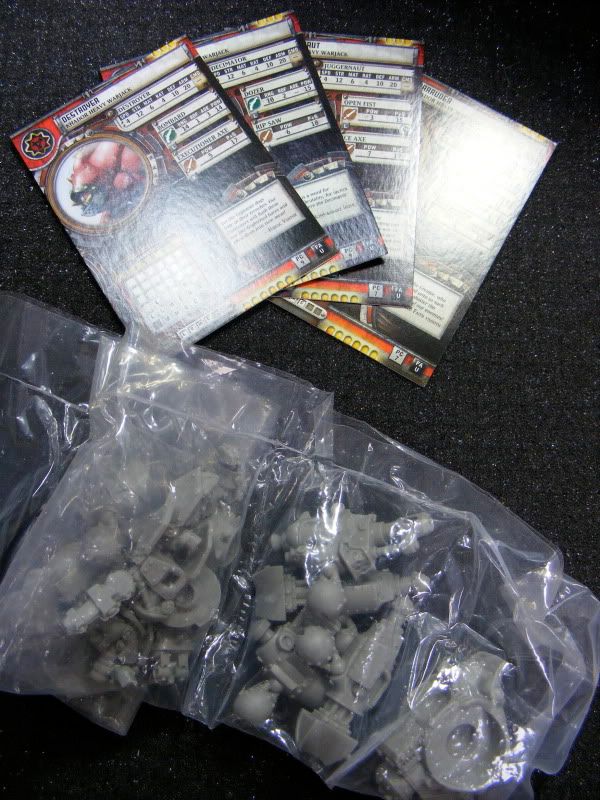
The bits you will need are

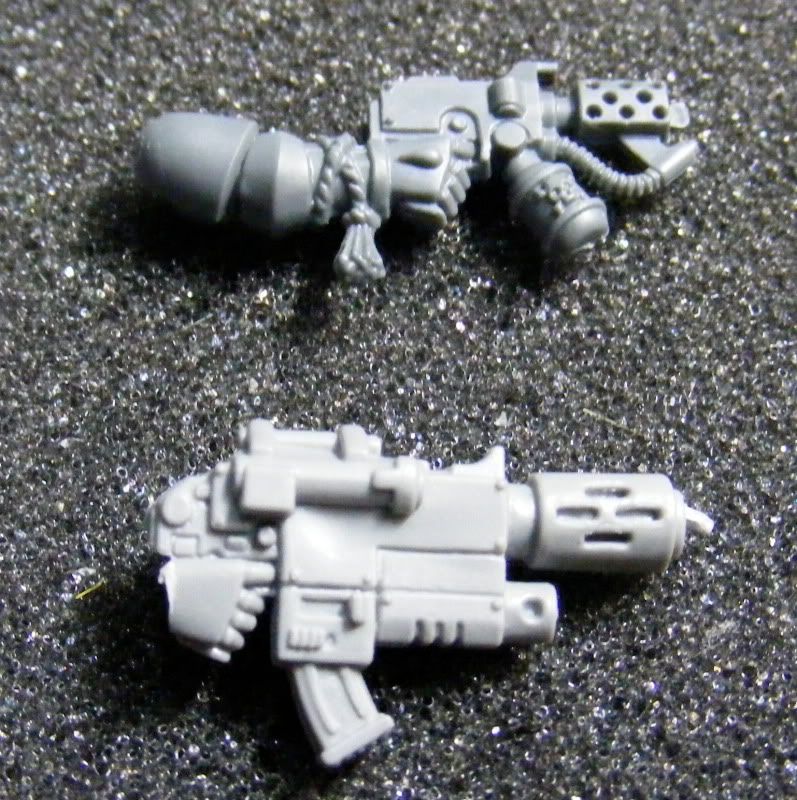
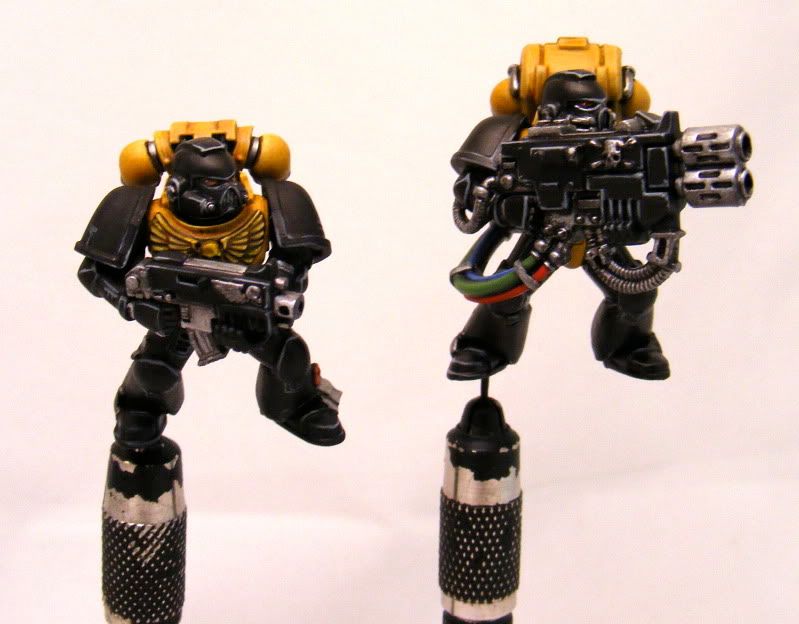
1)space marine commander plastic boltgun-melta combi weapon
2)blood angel death company handflamer


Step 1 - chopping mercilessly

At this stage you can use clippers to roughly remove areas we dont need such as the melta gun barrel and the main body of the handflamer til you have something looking roughly like this.


this is the ideal time to drill out the bareels using a pinvice as if you do it later in there new positions they will probably snap off.
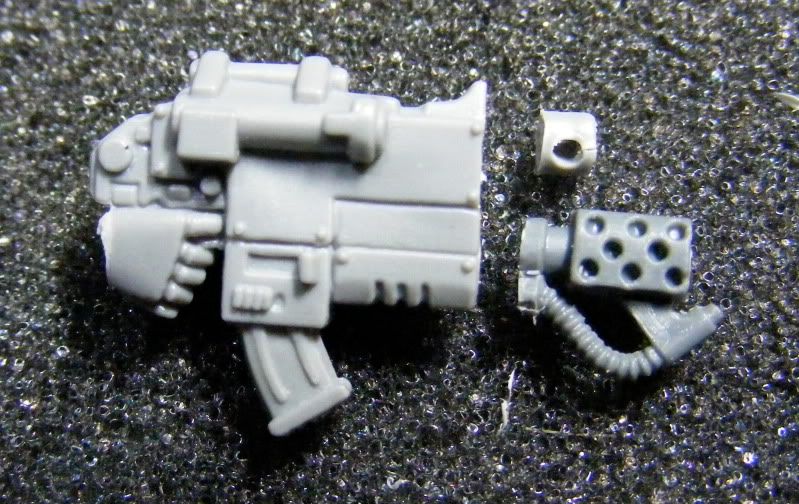
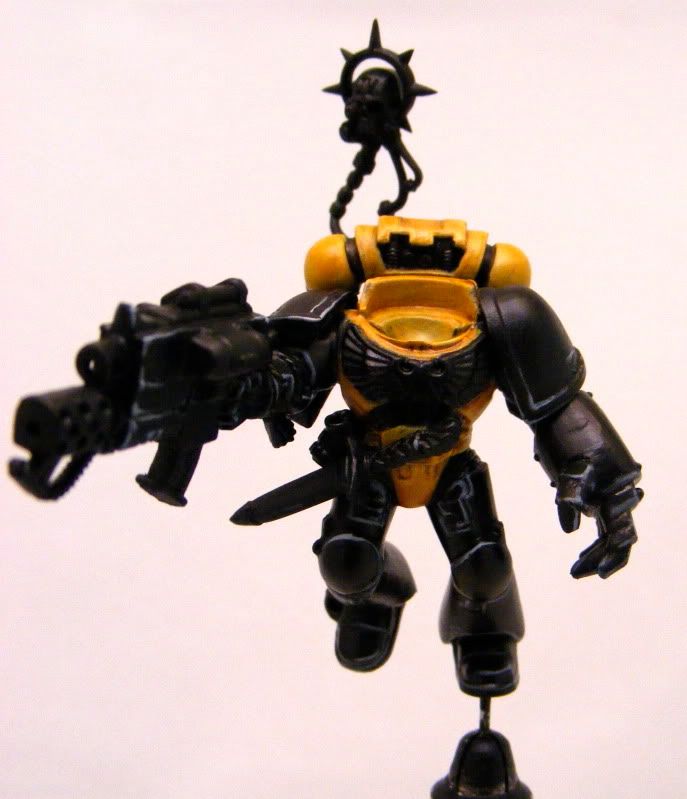
Step 2 - SHAVE IT!

being very careful, knives can be sharp, we gently slice the boltgun barrel away trying not to distort it shape before cleaning up the front of the bolter body so it is nice and smooth mmmm.  Then we also carefully pare away the boby of the handflamer leaving only the barrel and hose assembly so we end up with something like this.


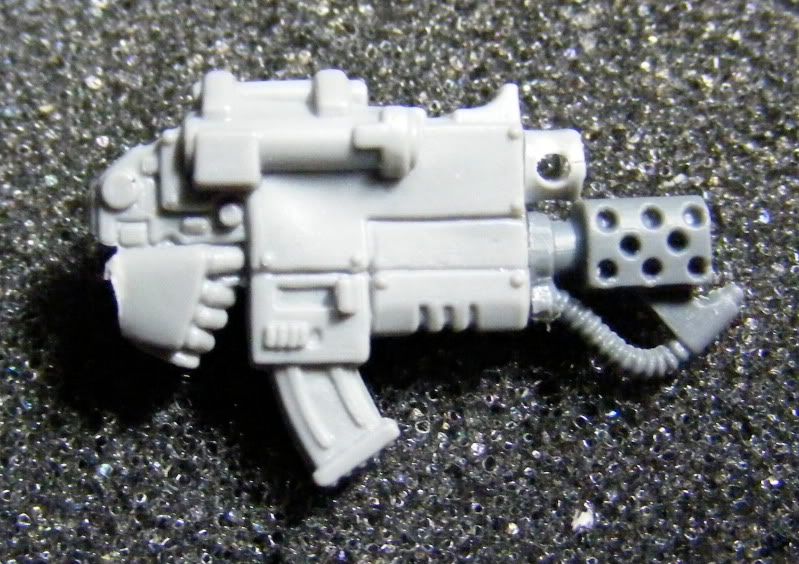
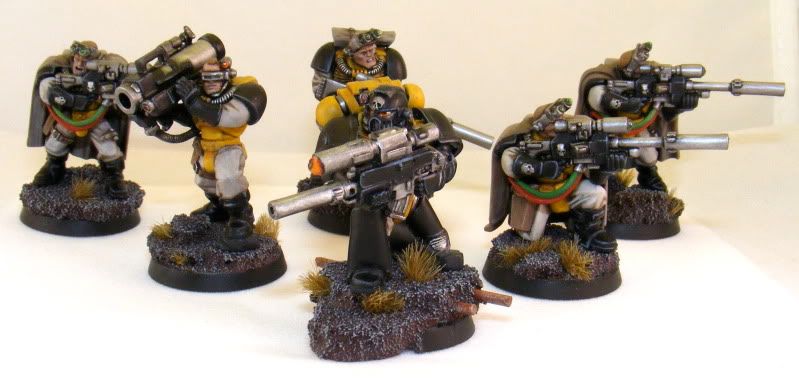
Stage 3 - Getting Sticky

simply stick the barrels in the new positions so it looks a bit like this and hey presto we are done.


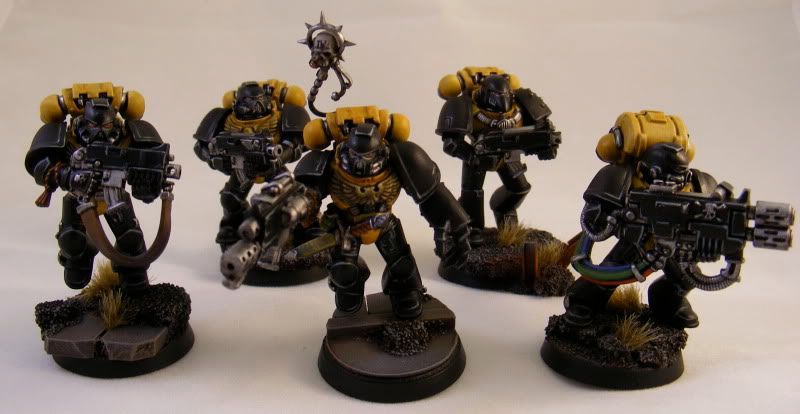
Hope that helps and any questions get in touch.

Friday 20 August 2010

Scythes of the Emperor Tactical Squad - Part 3

Well as promised I got to work and finished these guys of ready to be insignia'd like all the rest.  So here they are.


Next up are some more scouts, I've started cleaning them up but will have to see how much I get done before I take a well deserved break.

Scythes of the Emperor - Mole Mortar

As some additional fire support for my marines I figured on adding a thunderfire cannon to the army, however after putting together over a dozen of the GW models in the past (it's a bitch) I fancied something a lil different.  I decided to retro things up and attempt to create amole mortar model as a stand in.   I took inspiration from the original below though had to modernise it and make it a lot bigger (it's teeny!)


So I've made a start on building myself a new version using lots of various diameter plastic tubes inserted inside each other to develop pistons and barrel etc.


Having got this far I still need to think about adding a bipod and magazine/breach assembly.  The base is temporary just to give me something to work on, it will have a scenic base to match the rest of the army and needs either a squat or techmarine gunner.  This is an ongoing side project so will be updated from time to time as I do little bits here and there.

Tuesday 17 August 2010

Scythes of the Emperor Tactical Squad - Part 2

In my previous post I mentioned the second half of the tactical squad I was working on was in a state of semi completeness so I thought I would show how far I've gotten.

First up these four are only awaiting there basing to be finished ready to go the 'just needing iconography' pile.


And i've also made a start on the sergeant for the squad.


Hopefully will get the sergeant finished and all five based by the end of the week to have something extra to show people.  

Scythes of the Emperor

So I guess I should introduce the first of my current projects.  Having not painted a Games Workshop Space Marine army in a very long time, I decided that when I painted a new army to game with whilst playing WH40K I should make a return to the power armoured brethren.  Inspiration slapped me with a big wet kipper in the form of the short story 'Orphans of the Kraken' in the GW novel legends of the space marine.  This took me back to the early days of my involvement in the hobby when I was exposed to such art work as this.


Plus it was a chapter with good background that was rarely seen on a gaming table, as well as a suitably striking yellow and black colour scheme.


So now you have an idea what i'm up to I will give you a first sneaky pic of what i've accomplished so far.

First up is the first half of a Tactical Squad (i'll post the WIP of the next five in a later post) along with there rhino armoured personnel carrier.


I've also worked my way through a scout sniper squad with power armoured sergeant to represent Telion for gaming purposes.


So far i'm aiming to get as much infantry out of the way before I go back and add the chapter iconography.

Thats probably enough for one post more to come soon.

Welcome!

Well I guess it's time to get the ball rolling and explain what it is i'm up to down here.  Having been involved with the world of miniature painting and gaming for many years i'm hoping some people might find what I do of help or maybe even inspiration.  So I will be posting updates and explanations for anything i'm currently working on or start up.  Most of what I post will be Games Workshop products as I have been playing and painting there products for over twenty years now, though I will occasionally diversify into miniatures by other manufacturers as a change of pace.